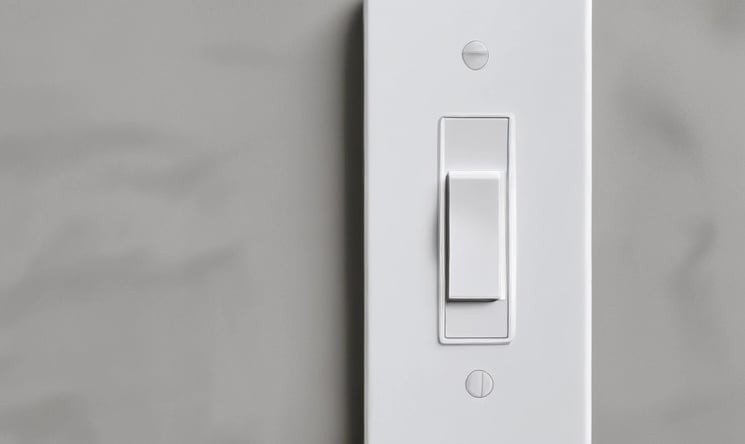
Install Smart Switches
HOW TO GUIDESMART HOMEELECTRICAL


How to Replace an Old Light Switch with a Smart Light Switch
Upgrading your home with smart technology is one of the easiest ways to add convenience and enhance your living space. One of the simplest and most impactful changes you can make is swapping out your old light switches for a smart switches. This guide will walk you through the process step-by-step, so you can start controlling your lights with your voice, phone, or automation system in no time.
Tools & Materials Needed:
Smart light switch (compatible with your home’s system)
Screwdriver (Phillips and flathead)
Voltage tester
Wire stripper (if necessary)
Electrical tape
Light switch faceplate (optional, if needed)
Step 1: Turn Off Power
Safety first! Head to your electrical panel and turn off the circuit breaker that controls the light switch you’re replacing. Double-check by using a voltage tester on the switch to ensure the power is completely off.
Step 2: Remove the Old Switch
Use your screwdriver to remove the screws holding the cover plate in place, then set it aside. Next, unscrew the light switch from the electrical box and pull it out carefully. Be mindful of any wires that are attached.
Step 3: Disconnect the Wires
Take note of how the existing wires are connected to the old switch. If needed, take a picture to help you remember. Typically, you'll see three main connections: live (black), neutral (white), and ground (green or bare copper).
Use the screwdriver to disconnect the wires from the old switch. If the wires are tightly secured, you may need a flathead screwdriver to gently loosen them. If you're dealing with more than one wire connected to a terminal, make sure to keep track of which wire goes where.
Step 4: Install the Smart Switch
Now, it’s time to connect your new smart switch. Most smart switches come with clear instructions, but generally, you’ll connect the wires in the same manner as the old switch.
Live wire: Attach the black wire to the “Live” terminal.
Neutral wire: Attach the white wire to the “Neutral” terminal (if your smart switch requires one).
Ground wire: Attach the bare or green wire to the “Ground” terminal.
If you’re unsure whether your smart switch needs a neutral wire, check the manufacturer's instructions. Some older homes may not have a neutral wire, which could limit the types of smart switches you can install.
Step 5: Secure the Switch
Once your wires are connected, carefully tuck them back into the electrical box and screw the smart switch into place. Be sure the switch is positioned correctly, and all connections are secure. Don’t force the wires in—make sure there’s enough slack for proper installation.
Step 6: Attach the Faceplate
If the smart switch comes with a faceplate, snap or screw it into place. If the old faceplate fits, you can reuse it, but make sure it’s aligned correctly.
Step 7: Restore Power & Test the Switch
Go back to your electrical panel and flip the breaker back on. Once the power is restored, test the smart switch. If it’s working, you should be able to control your lights either by flipping the switch or through a connected smart device.
Step 8: Set Up the Smart Features
Now, follow the instructions provided by the smart switch manufacturer to connect it to your Wi-Fi network. This usually involves downloading the app and following prompts to pair the switch with your phone or home assistant system (Google Home, Alexa, etc.).
Once everything is connected, take advantage of the smart features—set schedules, create automation, or even control the lights with your voice!
Tips for a Smooth Installation:
Check compatibility: Make sure the smart switch you purchase is compatible with your home’s wiring and electrical system. Some older homes may need a specific kind of switch.
Read the manual: Smart switches can have various features and may require specific steps for setup, so make sure you read the included manual.
Consider a Wi-Fi extender: If your switch is far from your router and you notice connection issues, a Wi-Fi extender might help improve the signal.
Conclusion:
That’s it! Replacing your old light switch with a smart switch is a relatively quick and easy way to upgrade your home with some future-ready tech. Whether you’re controlling your lights from your phone, voice assistant, or creating automation, the added convenience is definitely worth the effort. Happy smart home building!
Got any tips or tricks for smart switch installs? Drop them in the comments! Let’s share the knowledge!
