How to Troubleshoot a Leaky Faucet: Easy Fixes You Can Do Yourself
HOW TO GUIDEHOME MAINTENANCEBATHROOM


My post content
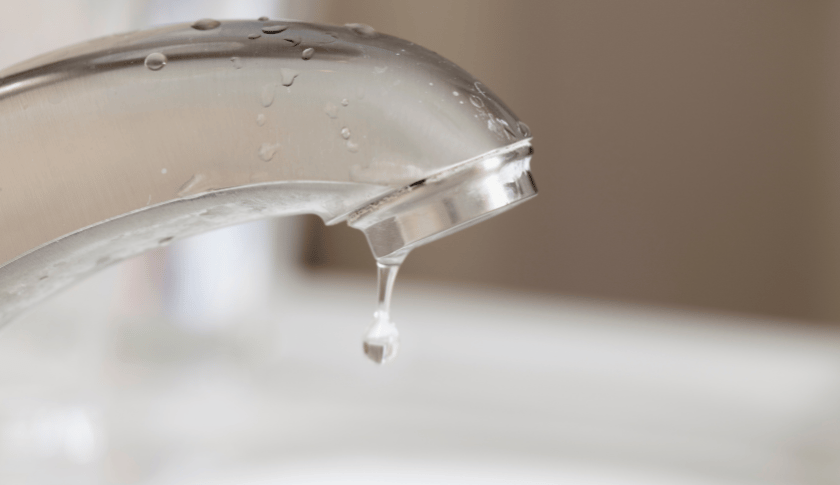
A leaky faucet is one of the most common (and most annoying) household issues. That constant drip doesn’t just get on your nerves—it can also waste gallons of water and increase your bill over time. The good news? Most faucet leaks can be fixed in less than an hour with basic tools and zero plumbing experience.
Below is your complete guide for troubleshooting a leaky faucet, identifying the cause, and tackling the simple fixes you can absolutely handle without calling a plumber.
Tools You’ll Need
Before you start, gather these basic tools. You likely already have most of them:
Screwdriver (Phillips and flathead)
Plumber’s tape (Teflon tape)
Replacement washers or O-rings (inexpensive and easy to find)
Allen wrench (for certain faucet handles)
Small towel or bucket (to catch any drips)
With just these essentials, you’re ready to troubleshoot almost any faucet leak.
How to Troubleshoot a Leaky Faucet
1. Identify Where the Leak Is Coming From
Before touching anything, take a close look at the faucet:
Dripping from the spout?
Usually a worn washer, cartridge, or O-ring.Water pooling around the handle?
Often a broken O-ring or loose packing nut.Leak under the sink?
Could be a loose supply line or worn connection that needs tightening.
Understanding where the water is escaping helps you zero in on the right fix.
2. Turn Off the Water Supply
Under the sink, turn the shutoff valves clockwise until they stop.
This step prevents water from spraying everywhere once you take the faucet apart.
Tip: Open the faucet afterward to relieve pressure and confirm the water is off.
3. Remove the Handle
Most handles have a screw—sometimes hidden under a cap. Use your screwdriver or Allen wrench to remove it and lift the handle off. Your can also used a purpose built faucet removal tool for a fast and convenient way to get into the small spaces sometimes required to remove the faucet handle from underneath the sink.
Once the handle is off, you're ready to inspect the internal parts.
4. Inspect the Cartridge, Washer, and O-Rings
These are the most common leak culprits:
Rubber washers can crack or flatten with age.
O-rings can dry out, loosen, or deteriorate.
Cartridges can wear down and stop sealing properly.
If anything looks worn, cracked, stiff, or misshaped—it needs to be replaced.
5. Check the Valve Seat
Look inside the faucet body where the washer sits. If the valve seat is corroded, it won’t seal correctly, causing a drip.
Light corrosion can be cleaned with a cloth or gentle abrasive pad. Severe corrosion may require a valve-seat tool or a replacement.
Common Easy Fixes You Can Do Without a Plumber
Most leaks can be fixed in under an hour. Here are the top DIY solutions:
✔ Replace the Faucet Washer
This is the #1 easiest fix for a dripping faucet.
Washers are inexpensive and fast to replace, usually taking less than 10 minutes.
✔ Swap Out the O-Rings
If you see moisture around the handle, your O-ring is likely failing.
Replace it with a matching size (bring the old one to the hardware store).
You can also order a universal faucet washer and O-ring replacement kit from Amazon. This will provide you with all the most popular and widely used washers and rubber o-rings.
✔ Tighten the Packing Nut
A loose packing nut inside the handle assembly can cause small leaks around the stem.
A quick quarter-turn with a wrench often solves it instantly.
✔ Replace the Cartridge
If your faucet is still leaking after replacing washers and O-rings, the cartridge may be worn.
Cartridges slide right out and a new one snaps back into place—easy, even for beginners.
✔ Add Plumber’s Tape to Threaded Connections
If water is leaking under the sink, remove the supply line, wrap the threads with plumber’s tape, and re-tighten.
This creates a better seal and stops small drips.
How Long Will the Repair Take?
Most faucet fixes are quick:
Washer or O-ring replacement: 10–20 minutes
Cartridge replacement: 20–30 minutes
Cleaning corrosion or tightening connections: 5–10 minutes
Full troubleshoot and repair for beginners: about 30–60 minutes
If everything goes smoothly, expect to be done in less time than it takes to run to the store.
When to Call a Plumber
While most leaks are DIY-friendly, call a pro if:
The faucet body is cracked
The leak persists after replacing internal parts
Corrosion is severe
Water is leaking from the wall or inside the cabinet structure
But in the majority of cases, you can solve a leaky faucet yourself with minimal tools and a little patience.
Final Thoughts
Fixing a leaky faucet isn’t just about stopping an annoying drip—it’s about saving water, protecting your fixtures, and learning a simple DIY skill that builds confidence for future home projects.
With a few tools and the steps above, you’ll be able to troubleshoot, repair, and get your faucet running perfectly again—all without paying a plumber.
Write your text here...
