
Build a Retaining Wall
OUTDOOR LIVINGLANDSCAPINGRENOVATION IDEASHOW TO GUIDE
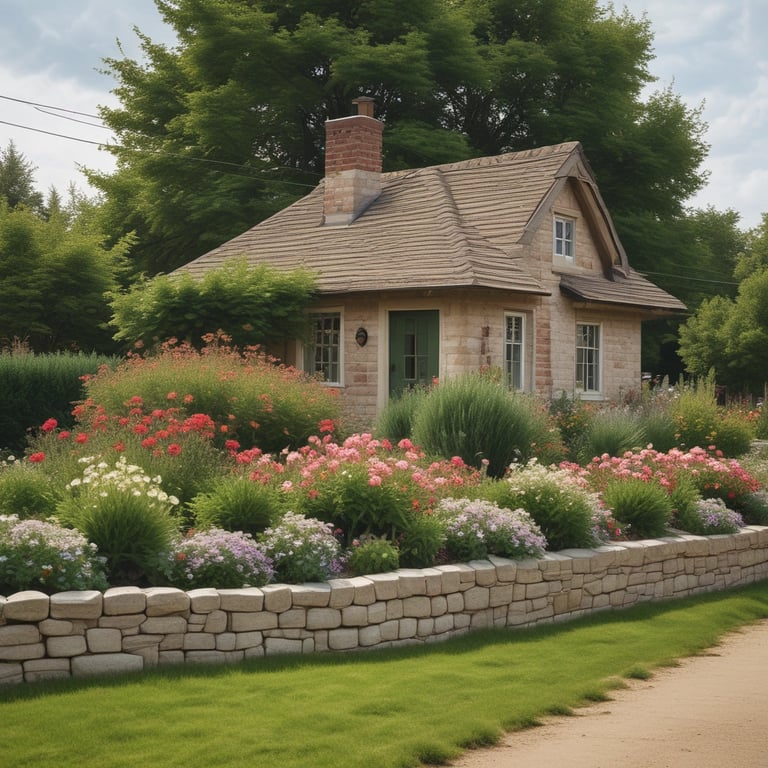
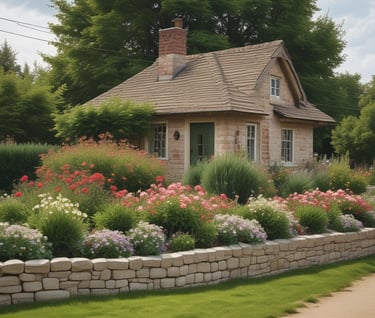
"A small retaining wall can enhance your landscape, prevent erosion, and increase curb appeal."
How to Build a Small Retaining Wall: A DIY Guide for Homeowners
A retaining wall is a great way to control erosion, create leveled garden beds, or add a stylish touch to your landscaping. Whether you're tackling a sloped backyard or simply want to add some structure, building a small retaining wall is a manageable DIY project. In this guide, we'll walk you through the process step-by-step, provide pro tips, and break down the costs of DIY vs. hiring a professional.
Materials & Tools Needed:
✔ Concrete retaining wall blocks or pressure-treated timbers
✔ Gravel (for drainage)
✔ Landscape fabric
✔ Level
✔ Shovel
✔ Rubber mallet
✔ Tape measure
✔ Tamper (manual or powered)
✔ Masonry adhesive (if using blocks)
Step 1: Plan & Measure Your Wall
Determine the height and length of your retaining wall.
For walls under 3 feet, DIY is a good option. For taller walls, consult a professional.
Mark the area with stakes and string to outline the shape.
Pro Tip: Local building codes may require a permit for walls over 3 feet. Check before starting!
Step 2: Dig the Trench
Dig a trench 6-8 inches deep and slightly wider than your blocks or timbers.
Make sure the trench is level from end to end.
Common Mistake: Skipping this step can cause the wall to shift over time due to an unstable foundation.
Step 3: Create a Solid Base
Pour 2-3 inches of gravel into the trench and compact it with a tamper.
Add another 1-2 inches of sand for better leveling if needed.
Pro Tip: A well-compacted base ensures the wall won’t settle unevenly over time.
Step 4: Lay the First Row
Place the first row of blocks or timbers directly on the compacted base.
Use a level to ensure each block is aligned properly.
Tap blocks into place with a rubber mallet.
Common Mistake: If the first row isn’t perfectly level, the entire wall will lean or become unstable.
Step 5: Stack the Blocks or Timbers
For blocks: Stagger each row like bricks and use masonry adhesive if needed.
For timbers: Secure each layer with long landscape spikes.
Pro Tip: Slightly tilt the wall back (about 1 inch per foot of height) for added stability.
Step 6: Install Drainage
Place landscape fabric behind the wall to prevent soil from clogging drainage.
Pour gravel behind the wall to improve water drainage.
For walls over 2 feet, consider adding a drainpipe at the base.
Common Mistake: Poor drainage can lead to water buildup, causing the wall to fail.
Step 7: Backfill & Finish
Fill the area behind the wall with gravel, then top with soil.
Compact the backfill material every few inches to prevent settling.
Add plants or decorative elements to complete the look.
Final Thoughts
A small retaining wall can enhance your landscape, prevent erosion, and increase curb appeal. By following the right steps and avoiding common mistakes, you can build a sturdy and attractive wall on your own.